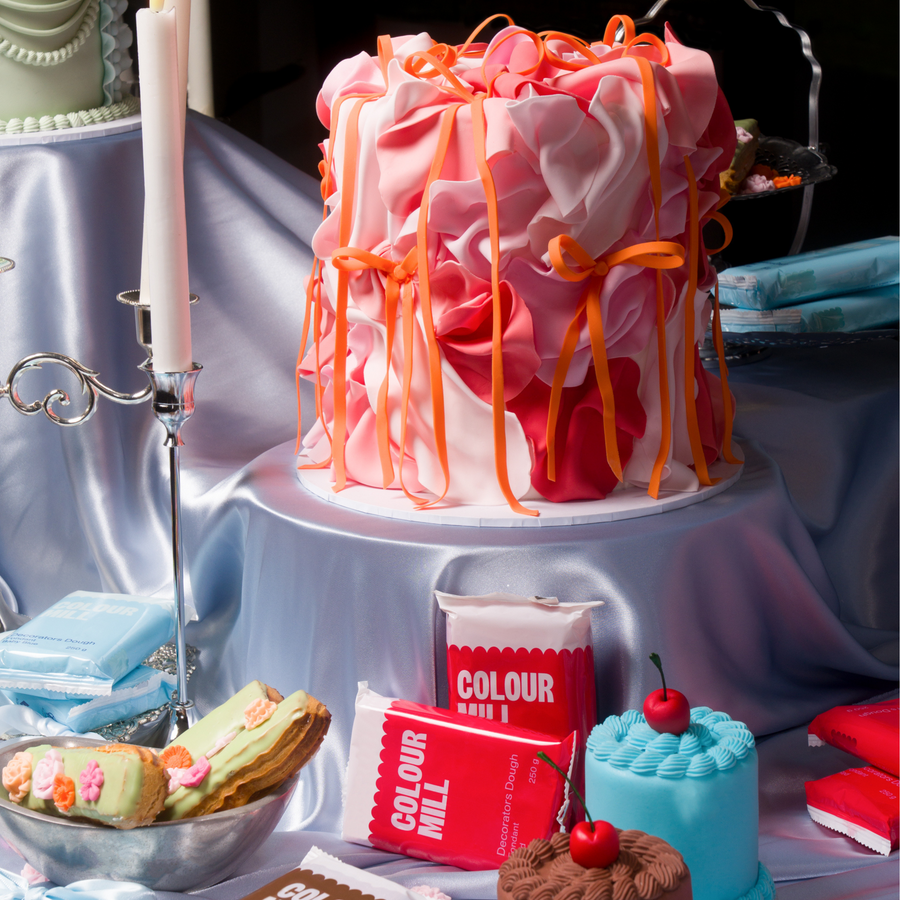
For the cake artists who want a clean, gravity-defying, fabric-like bow that sits firmly and gracefully on the side of a tiered cake - this guide is for you!
You'll Need
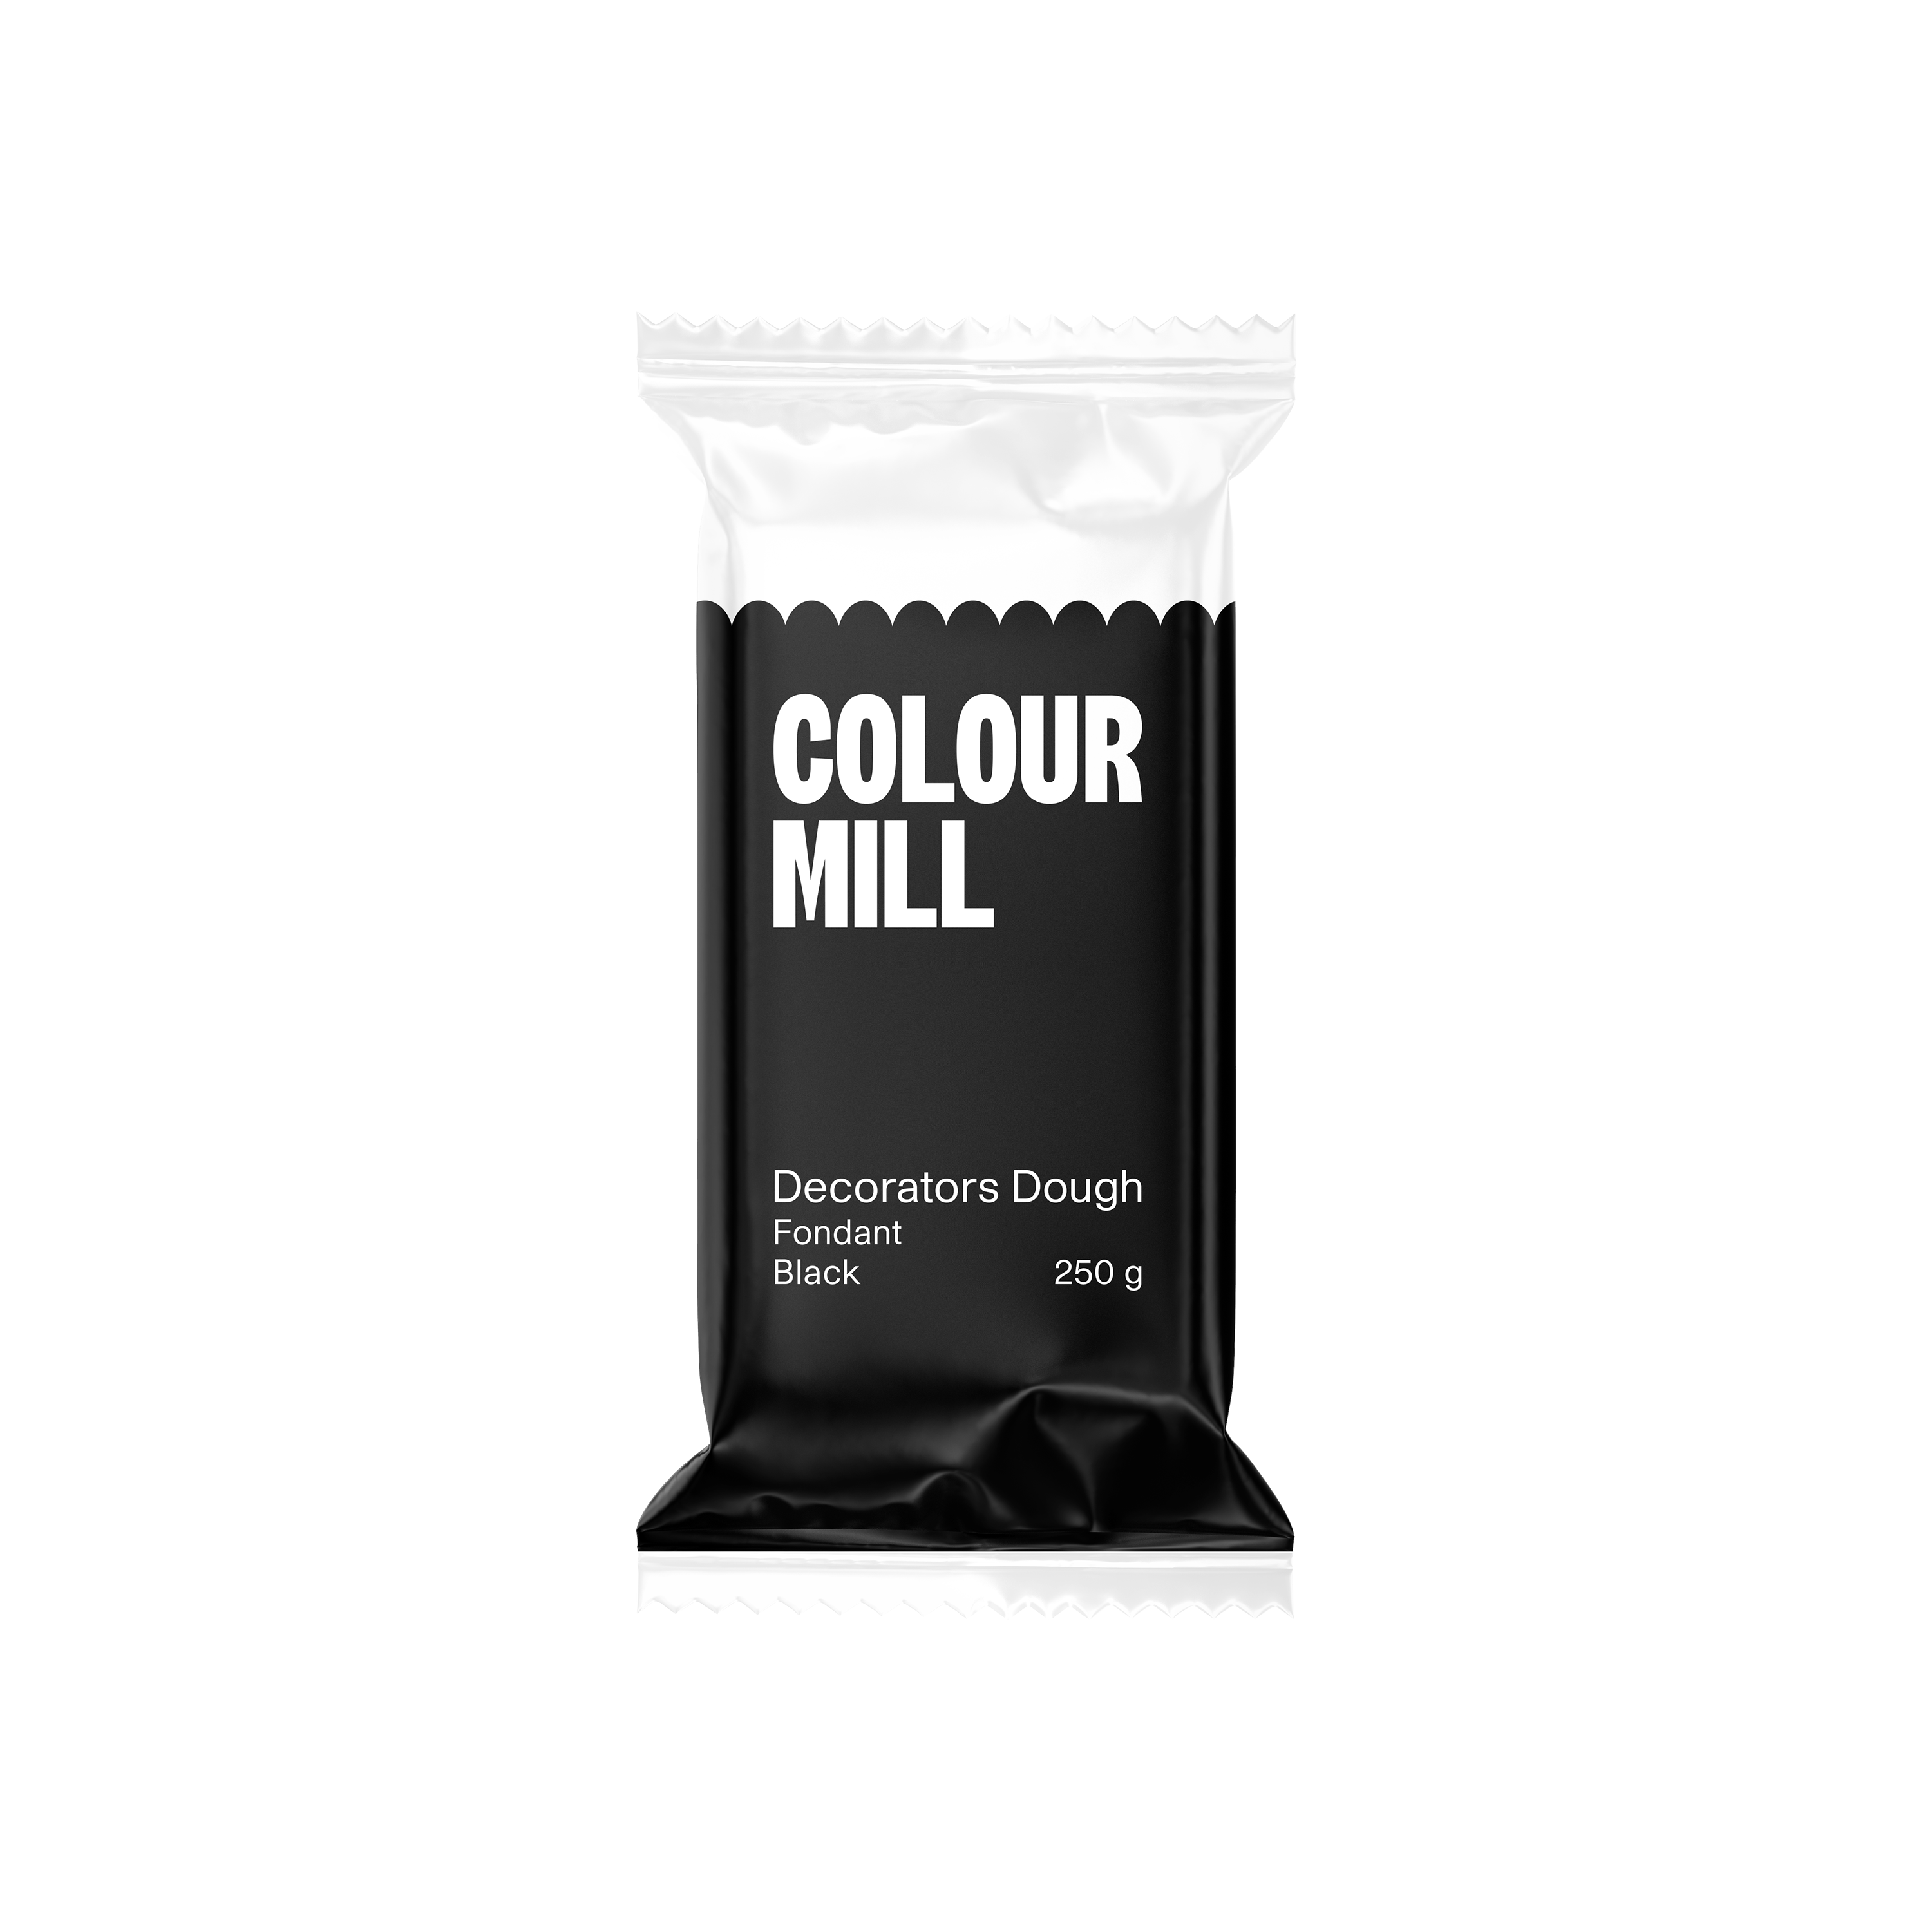
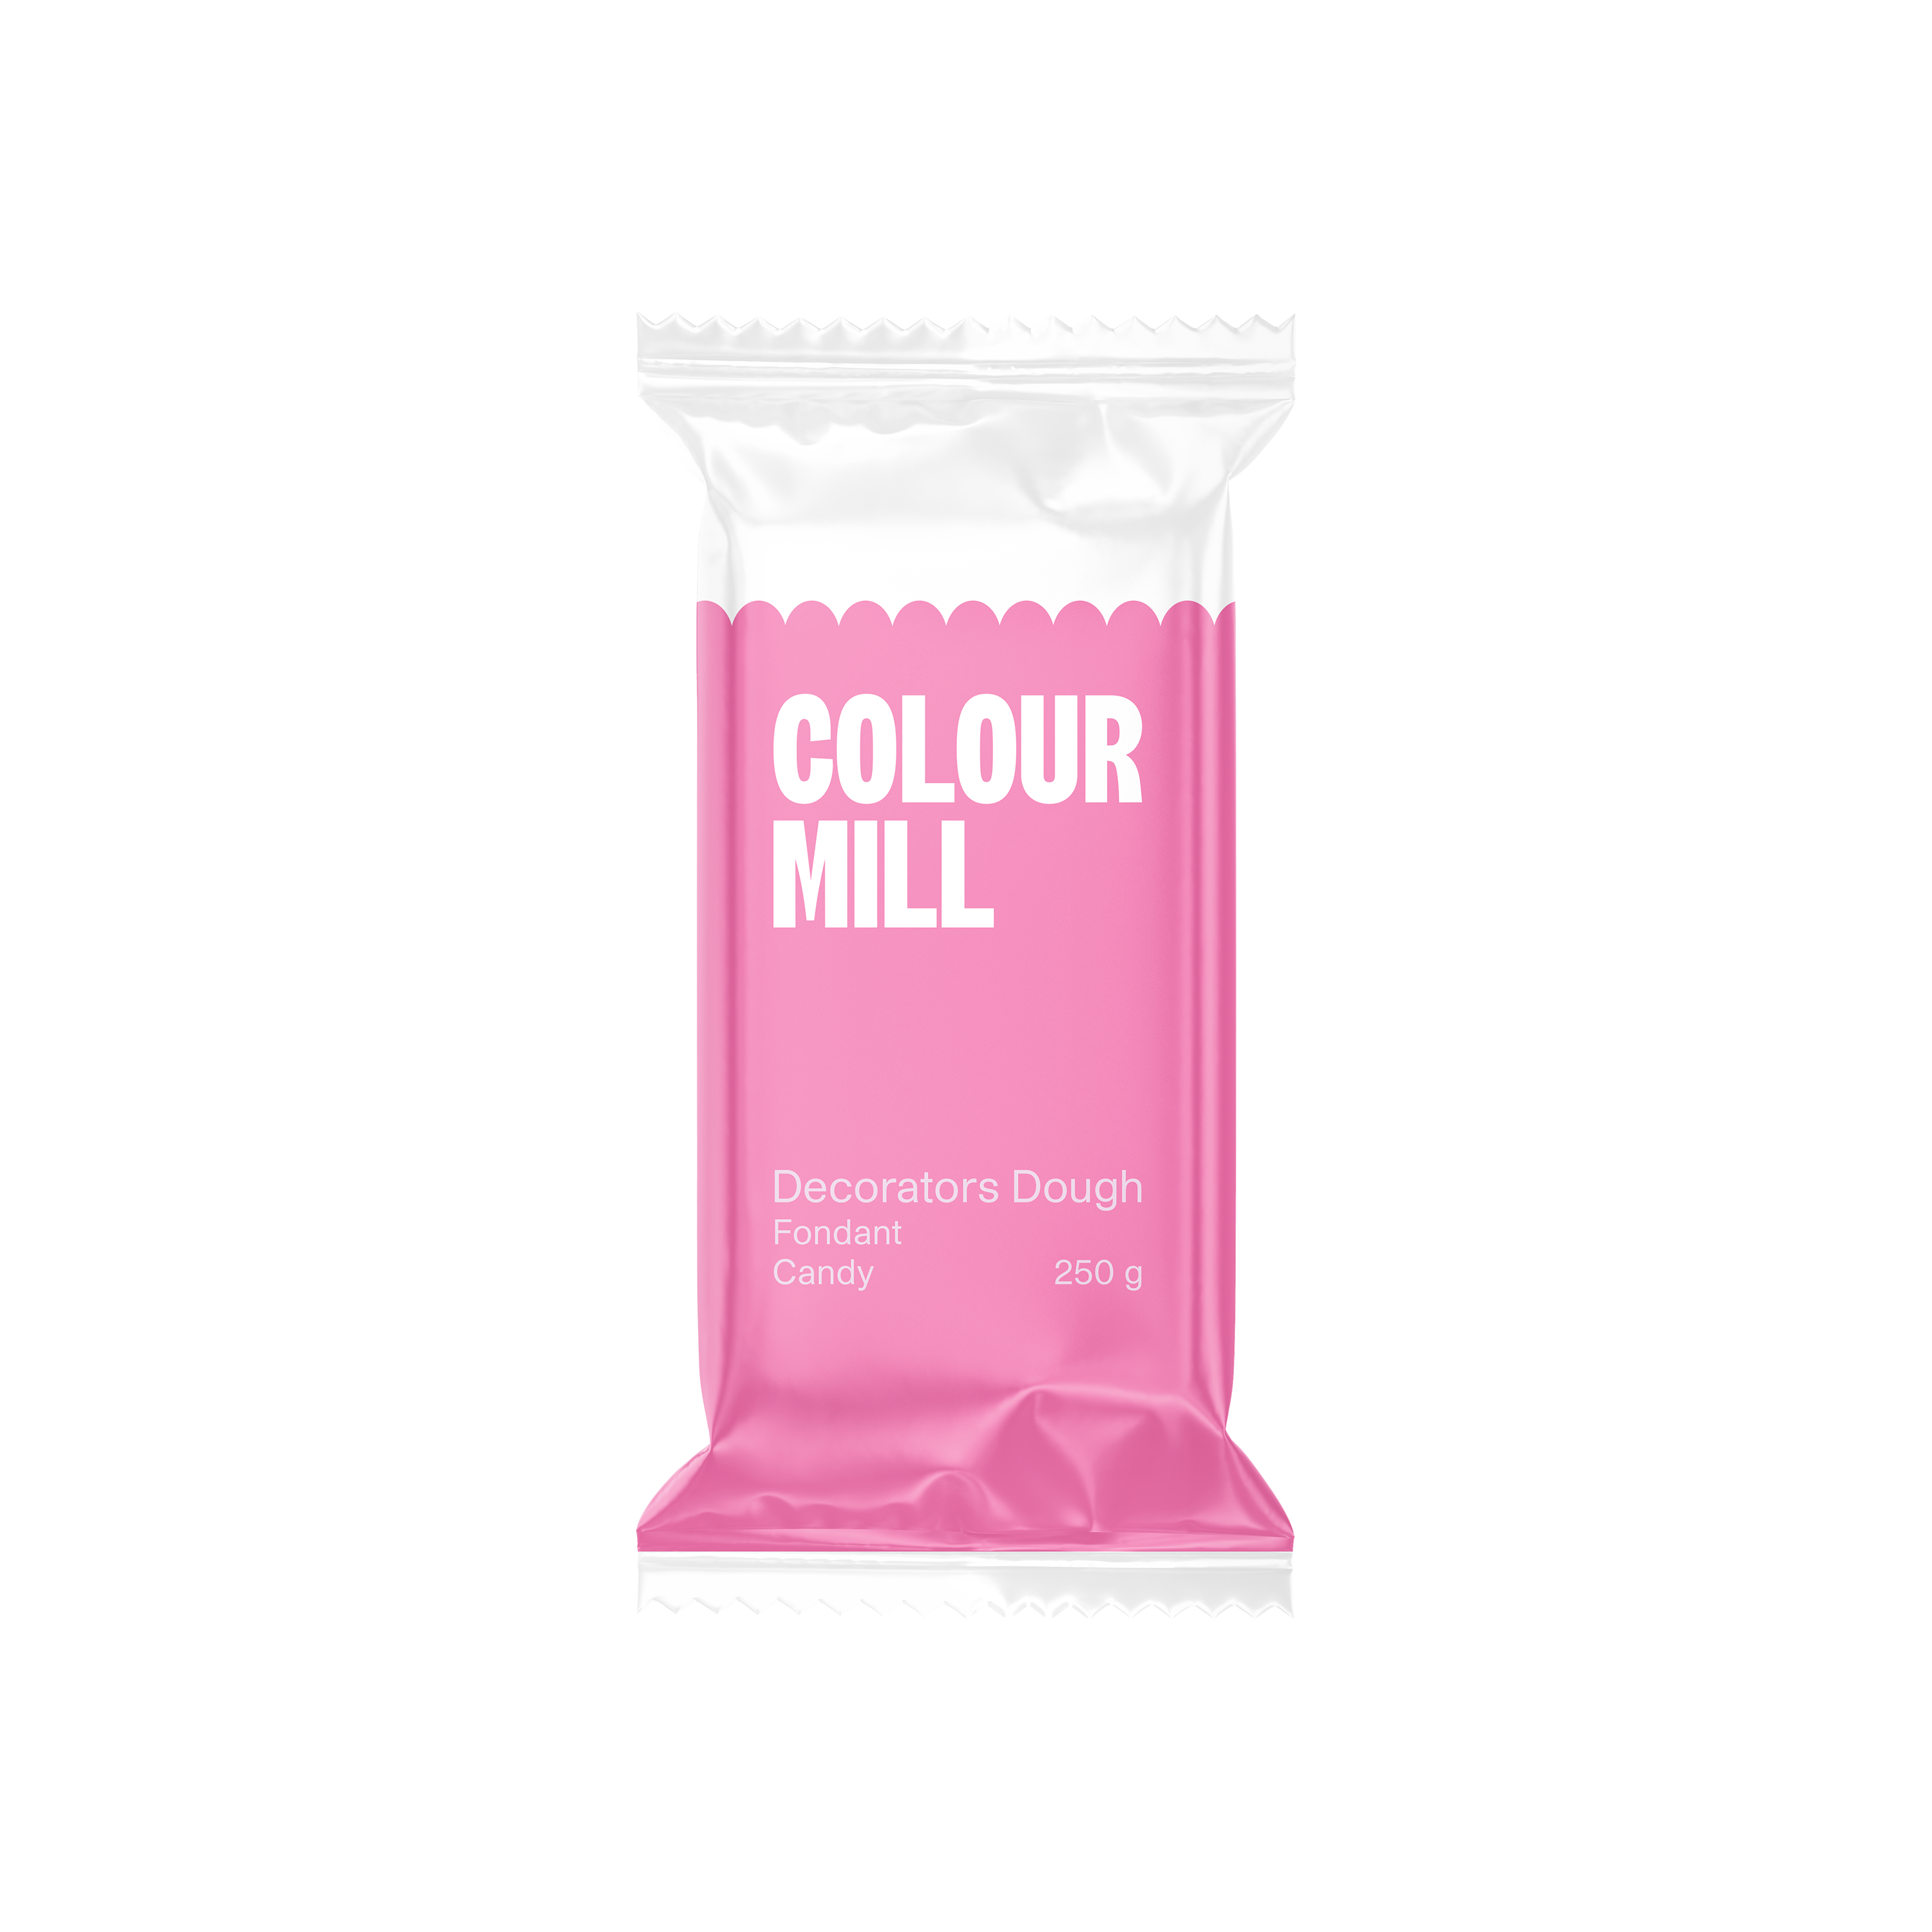
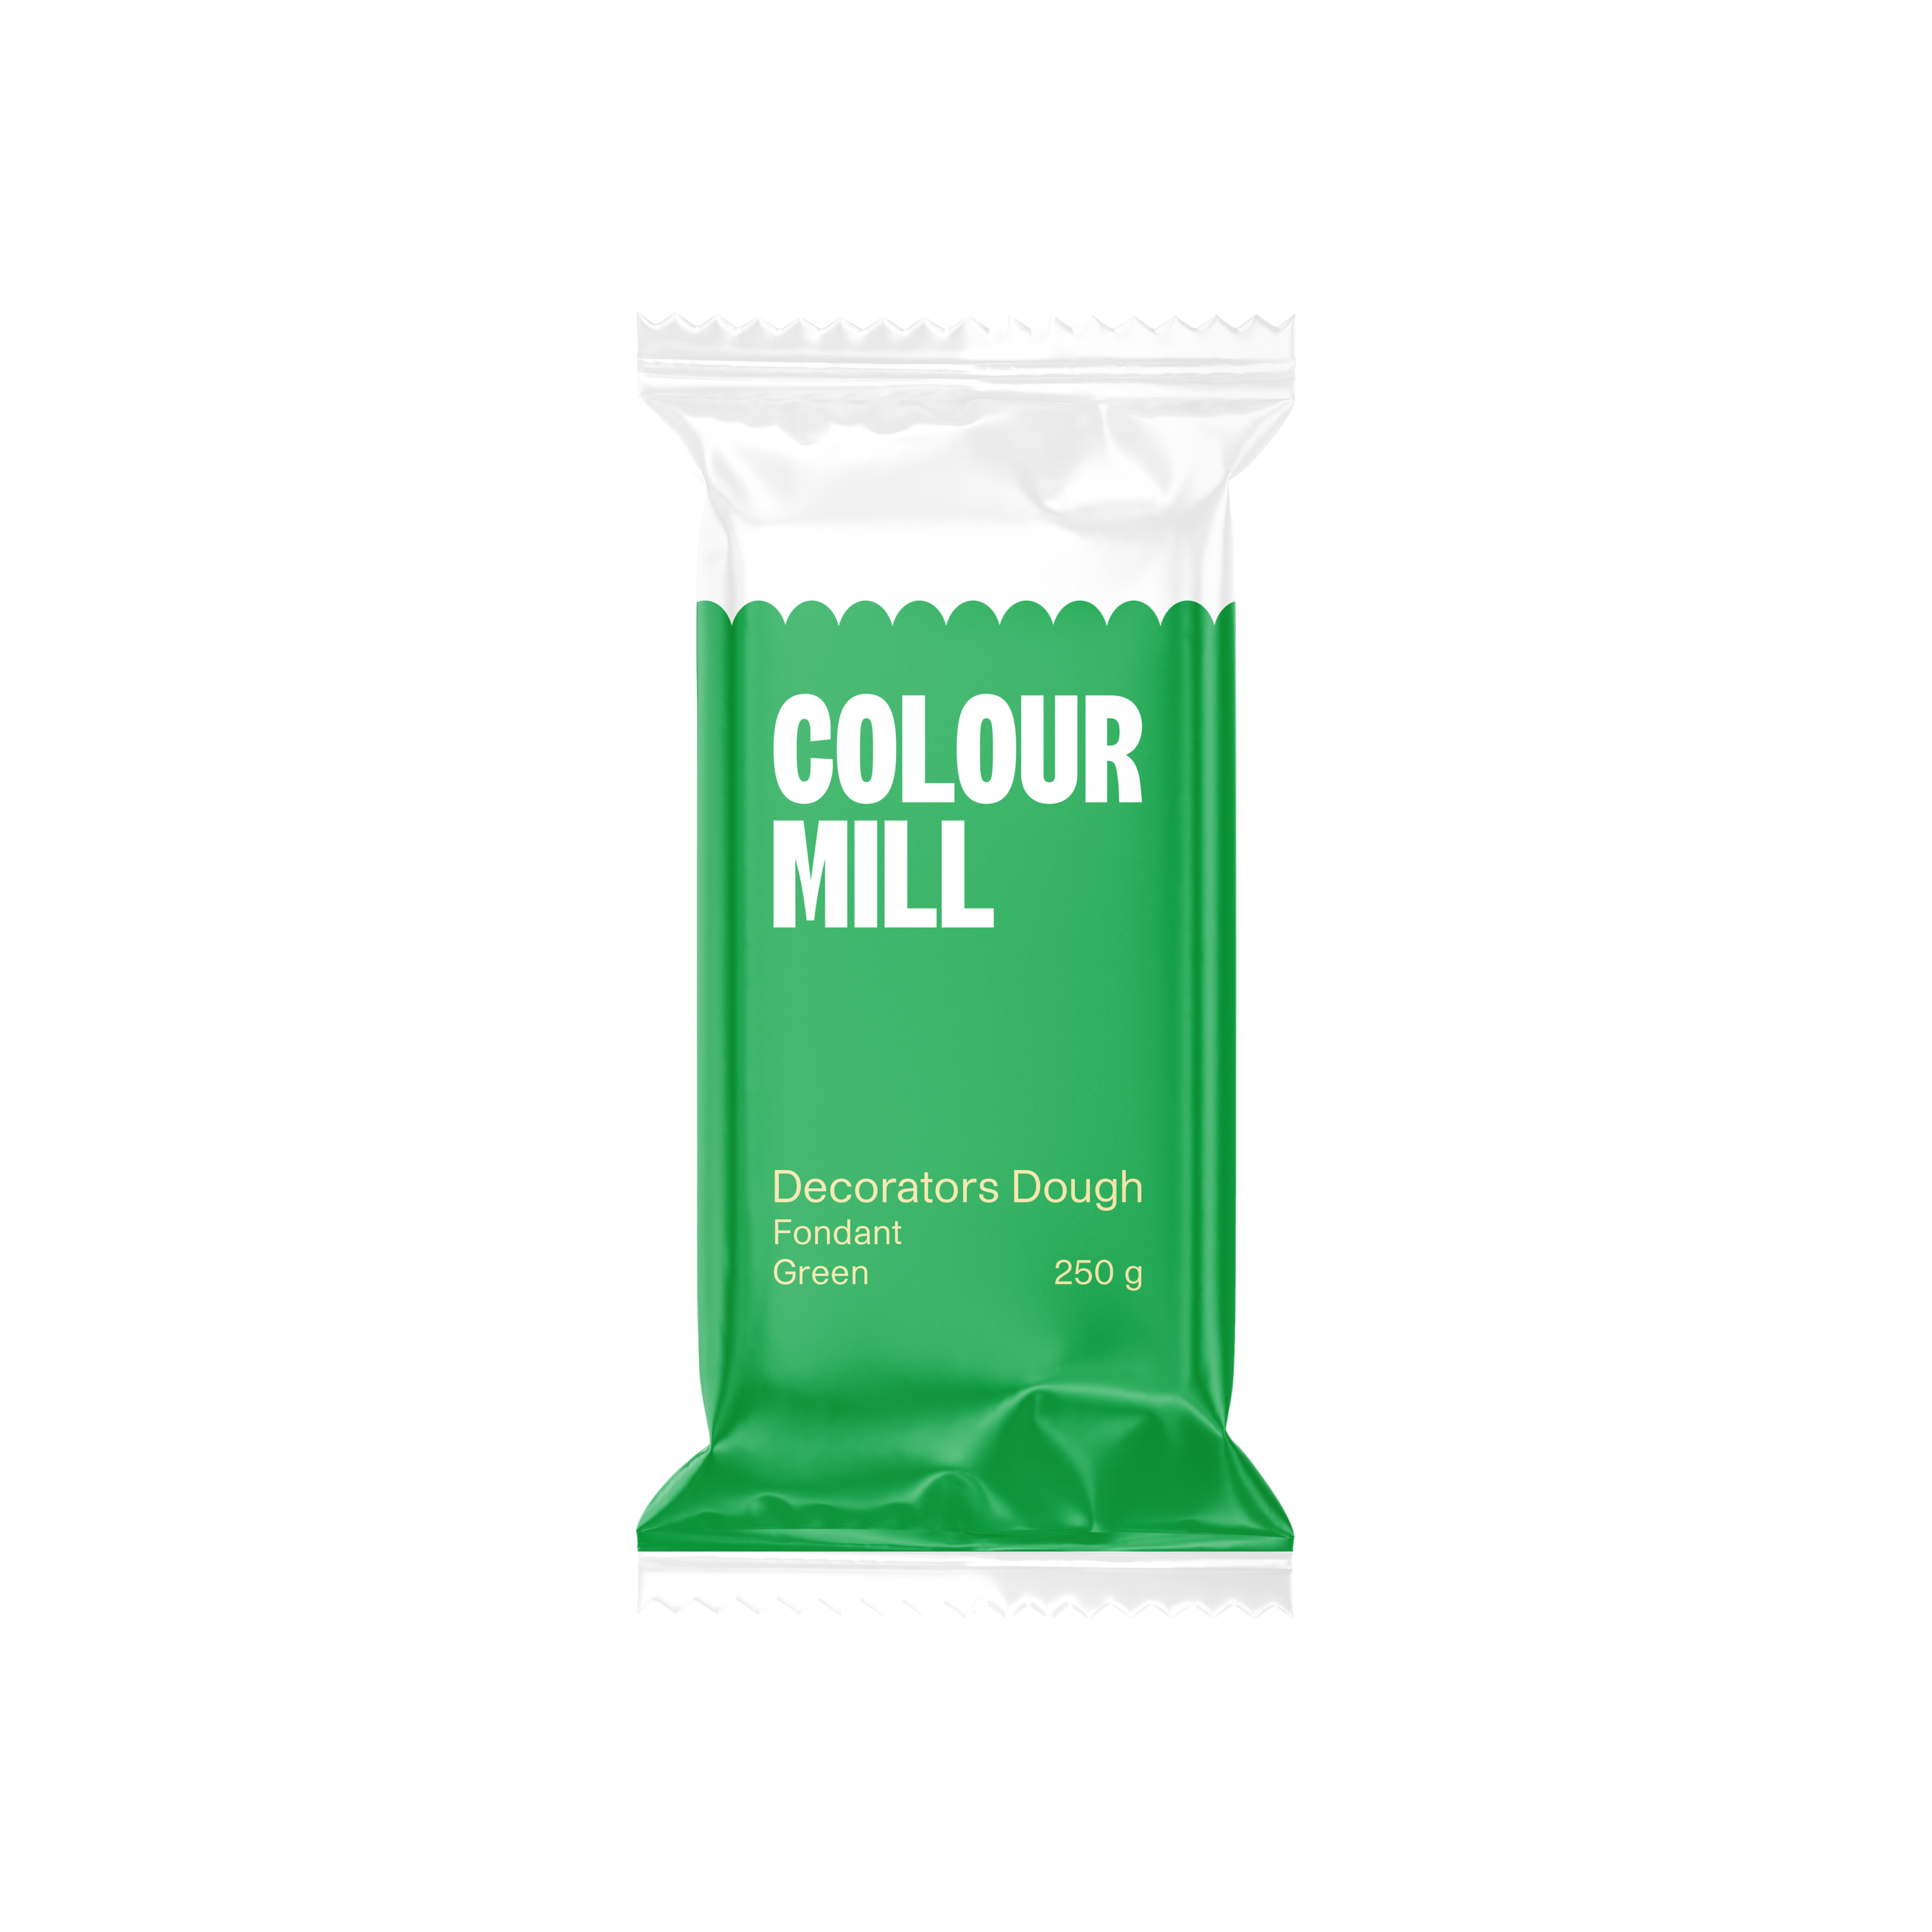
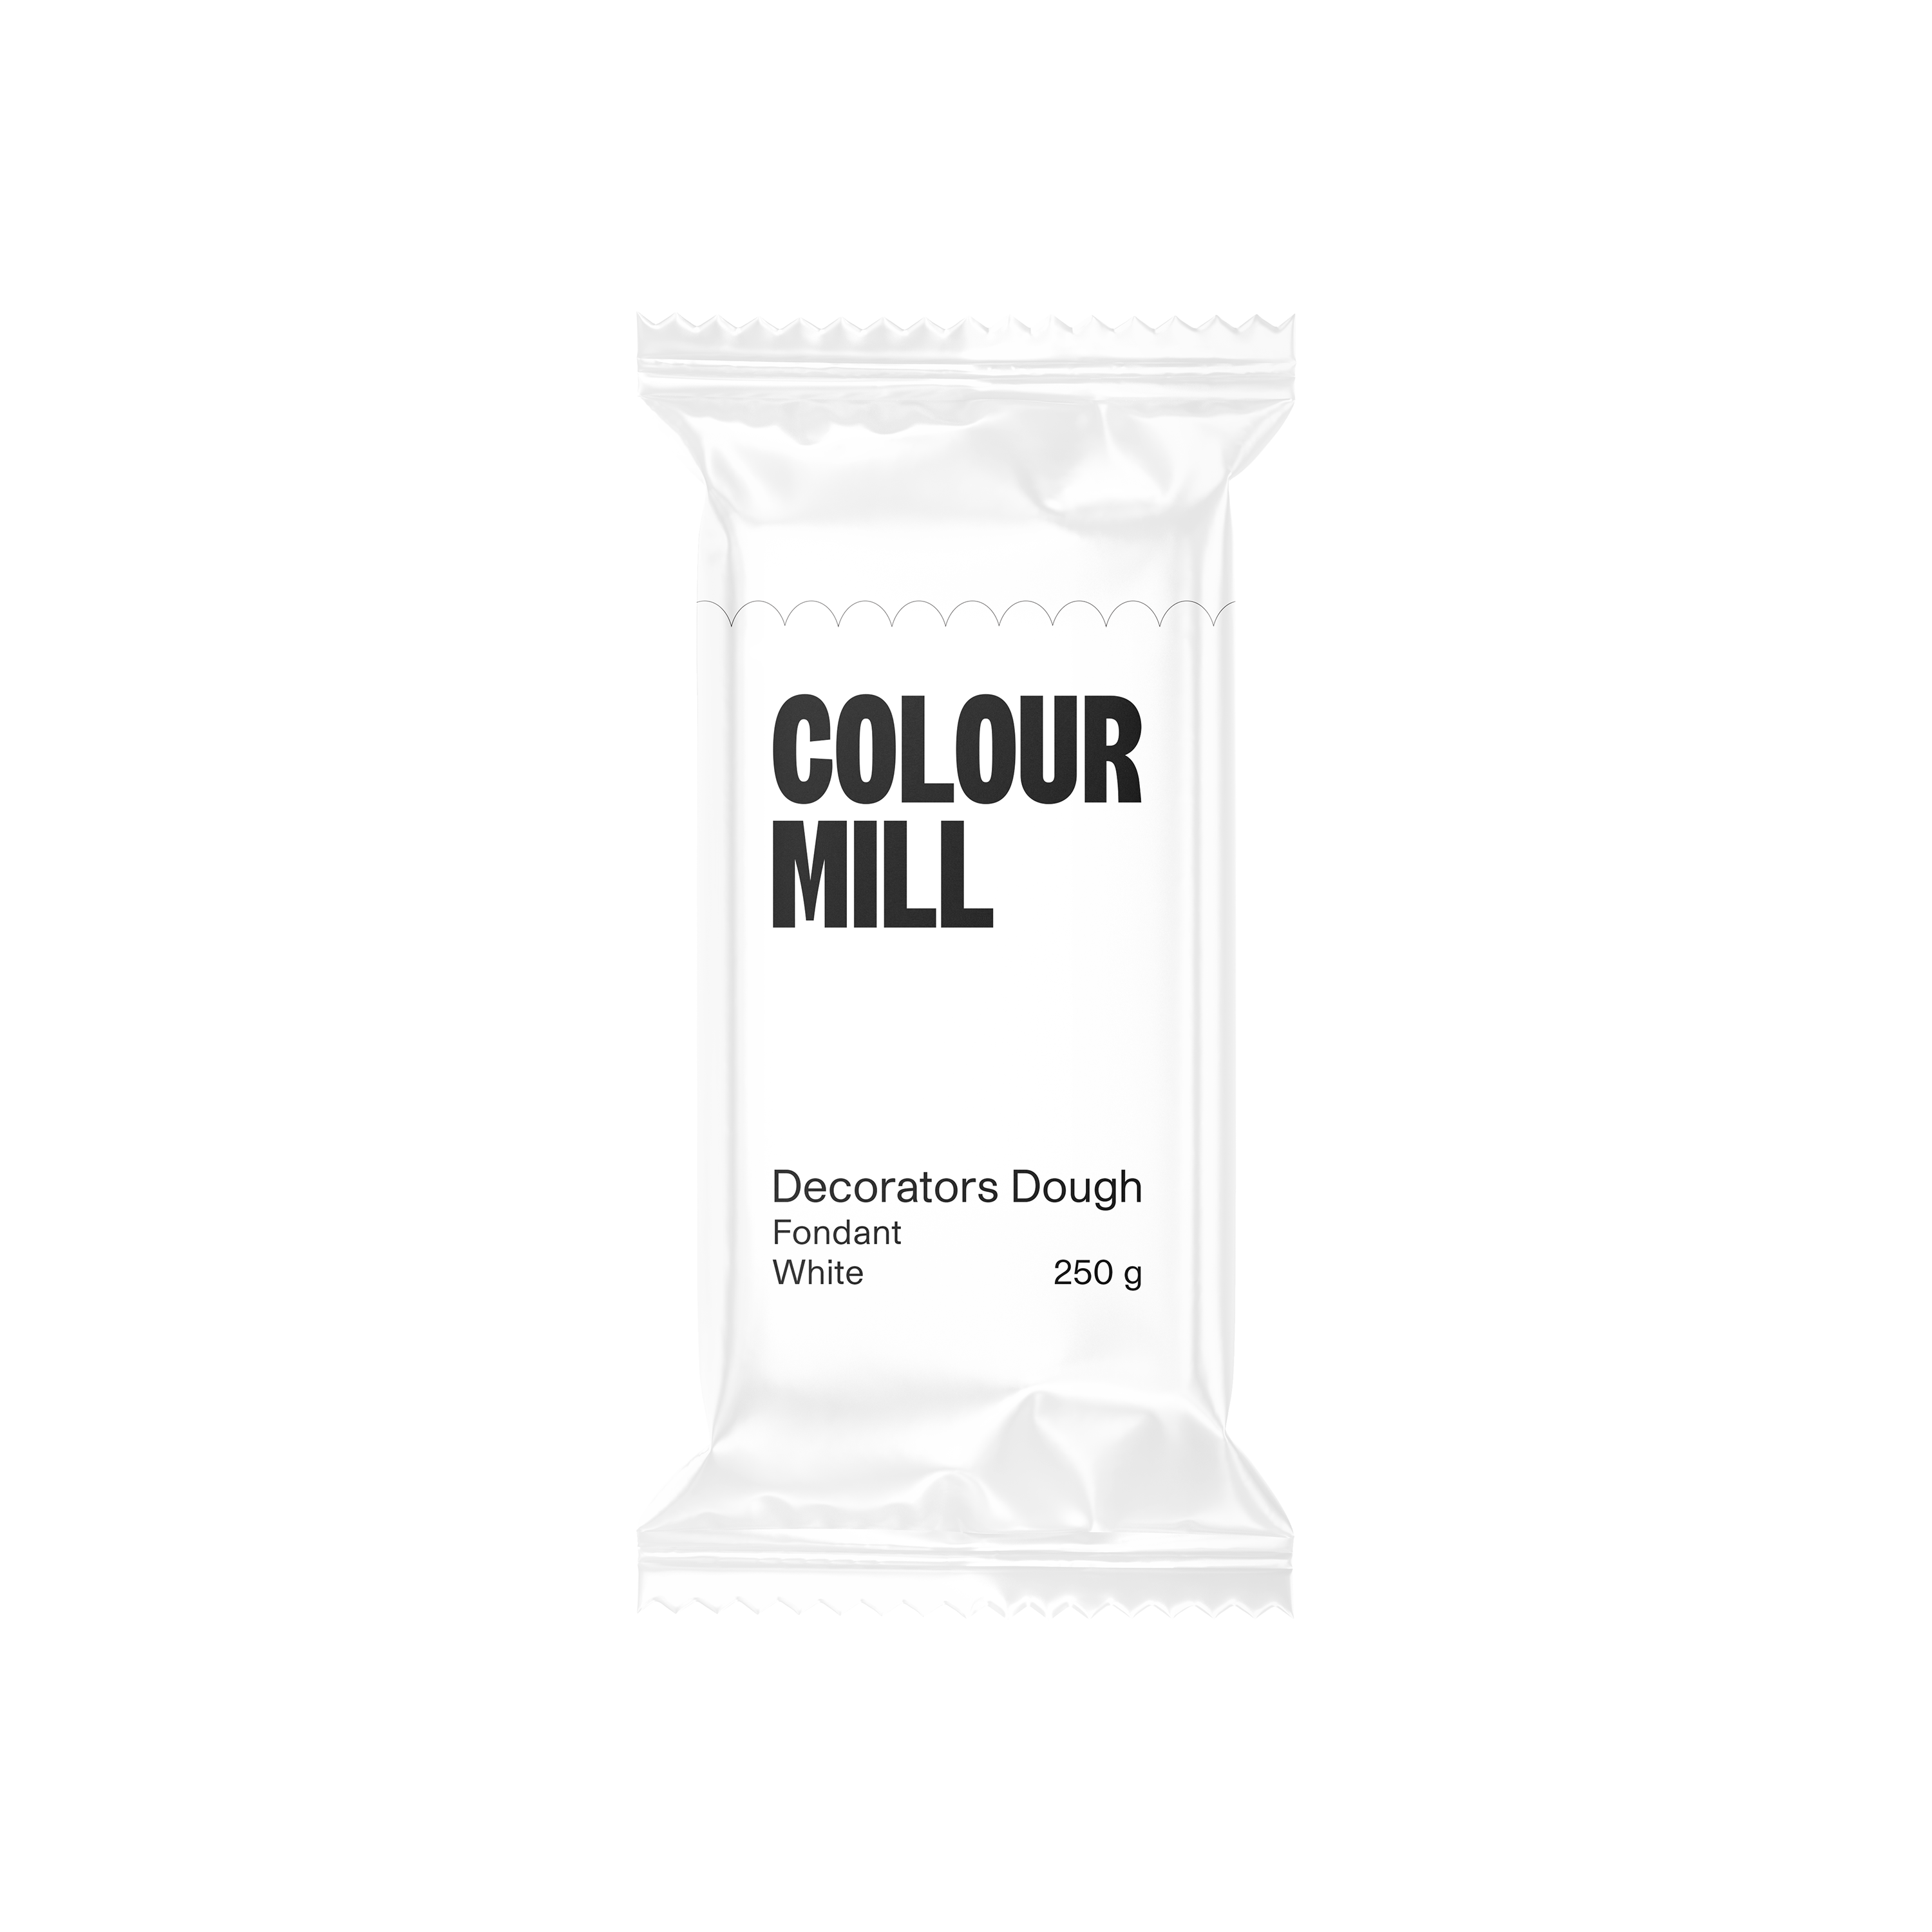
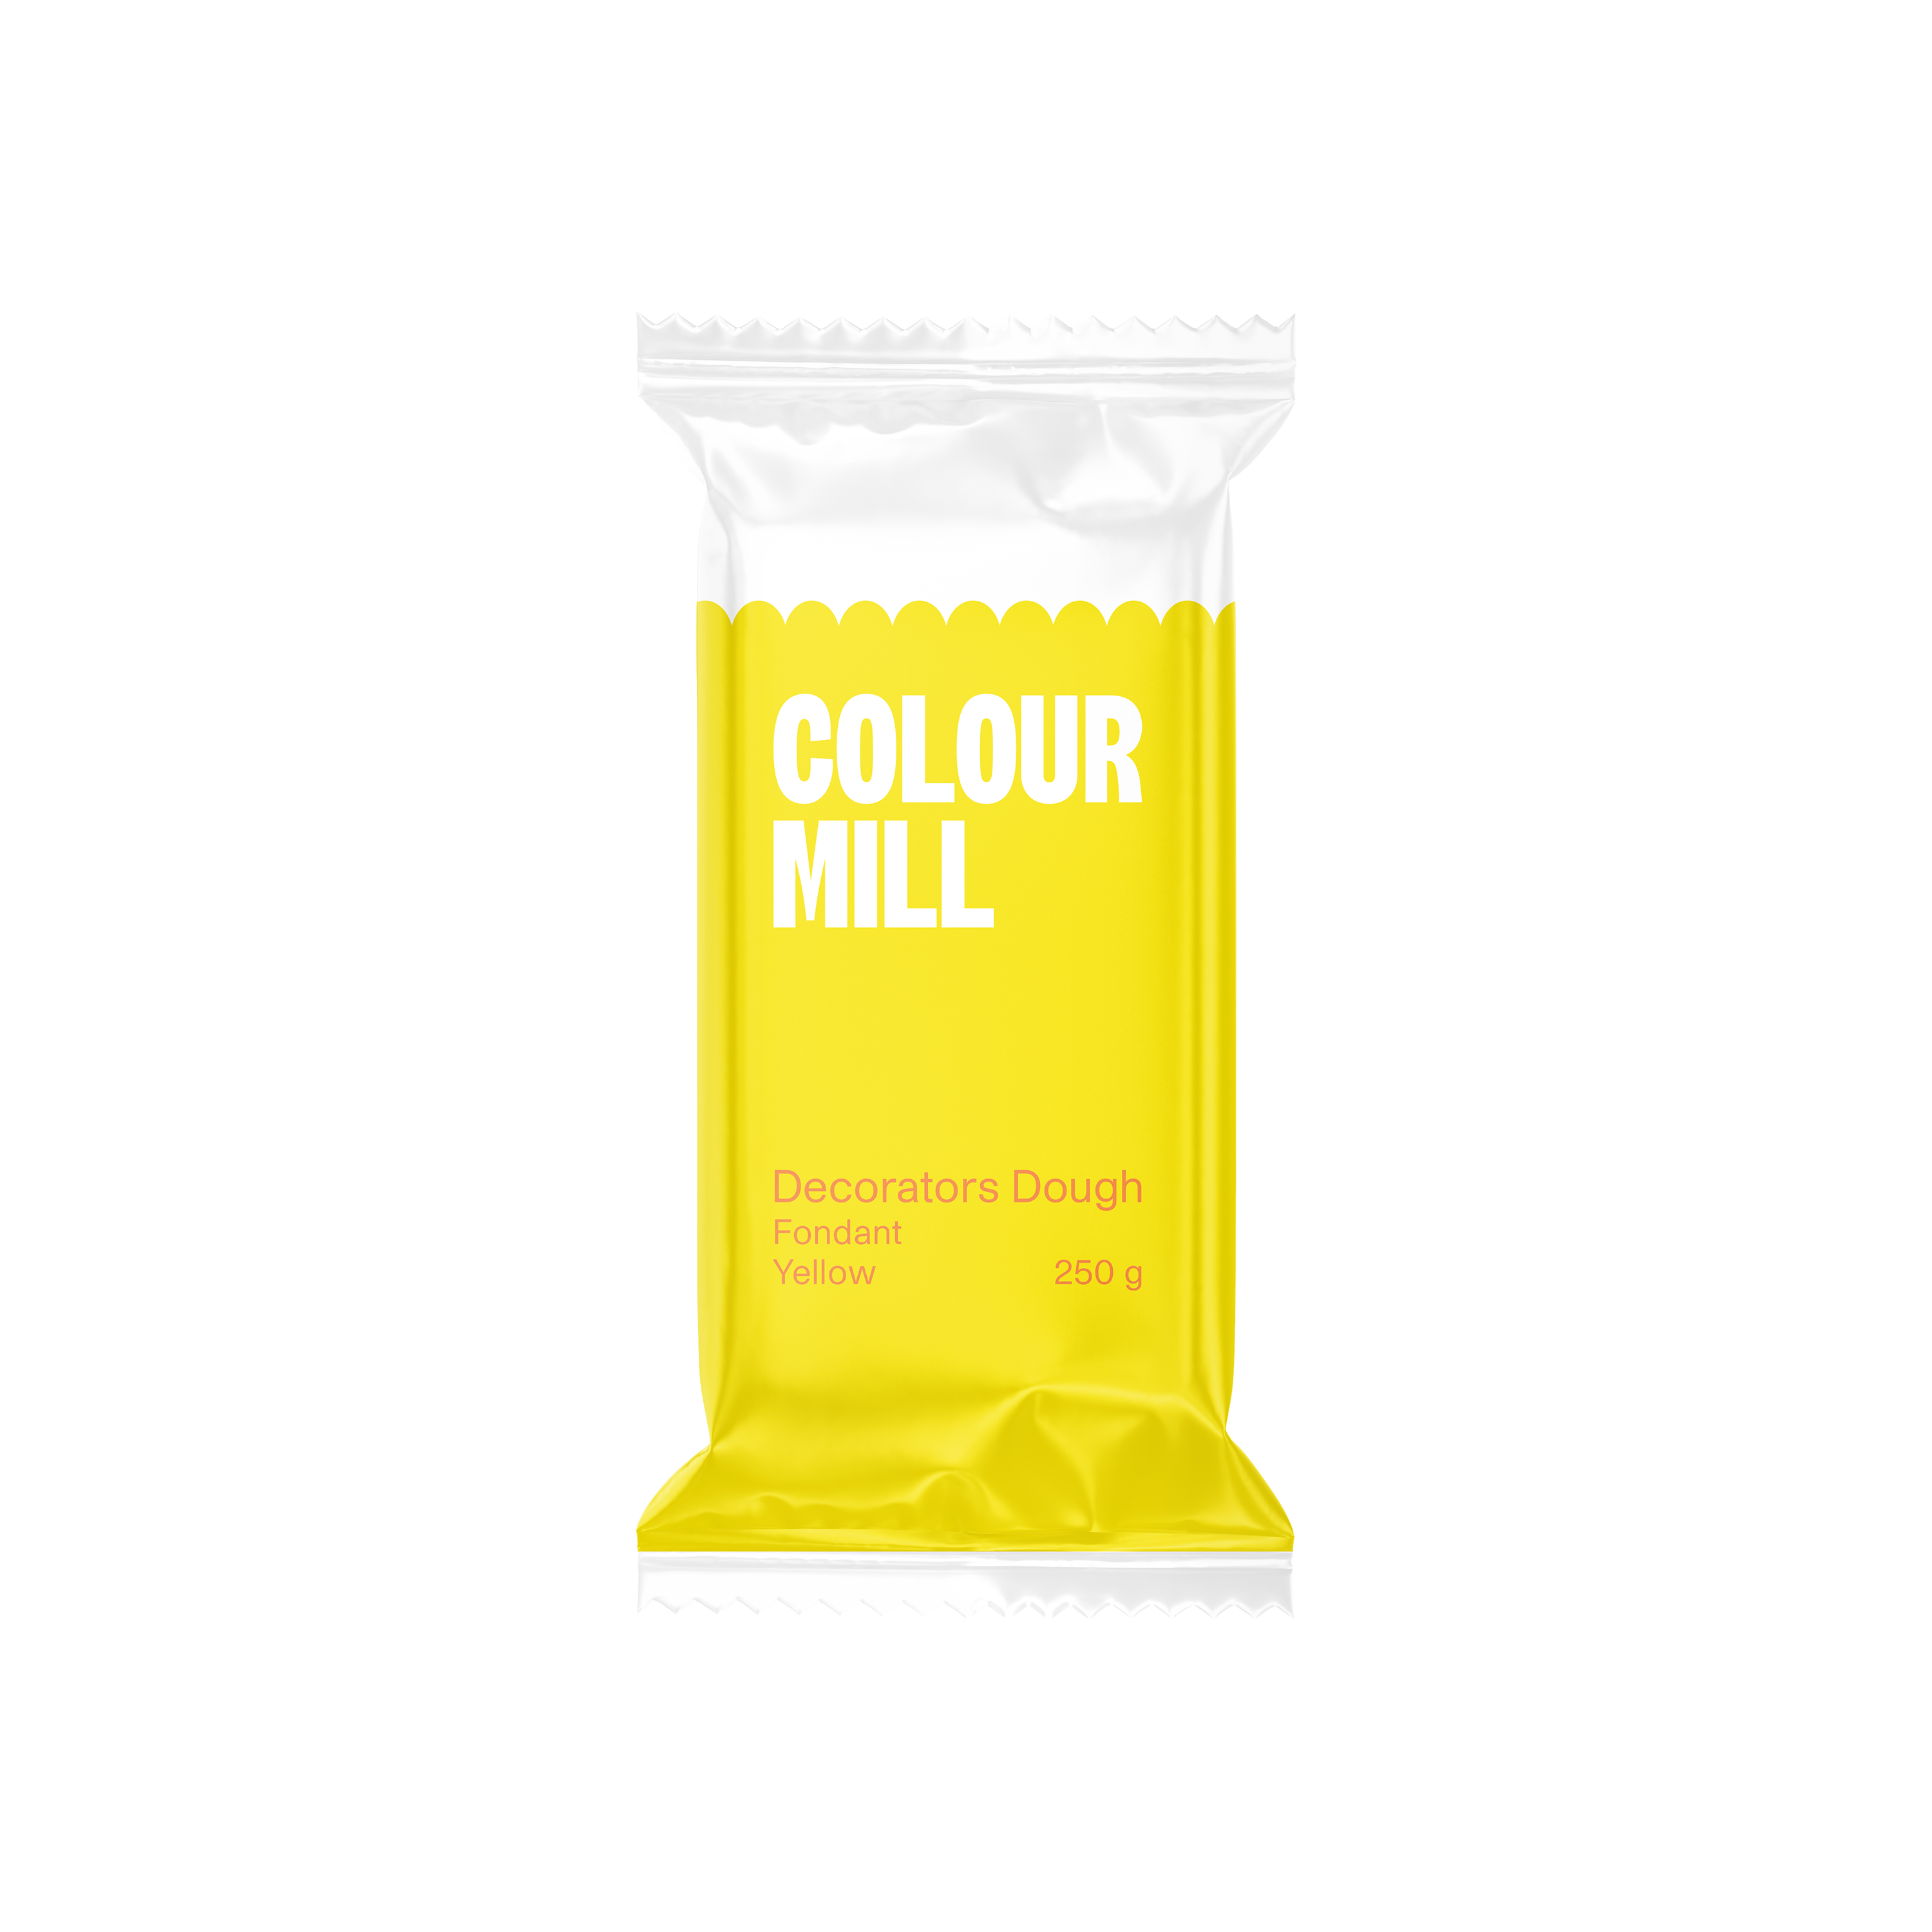
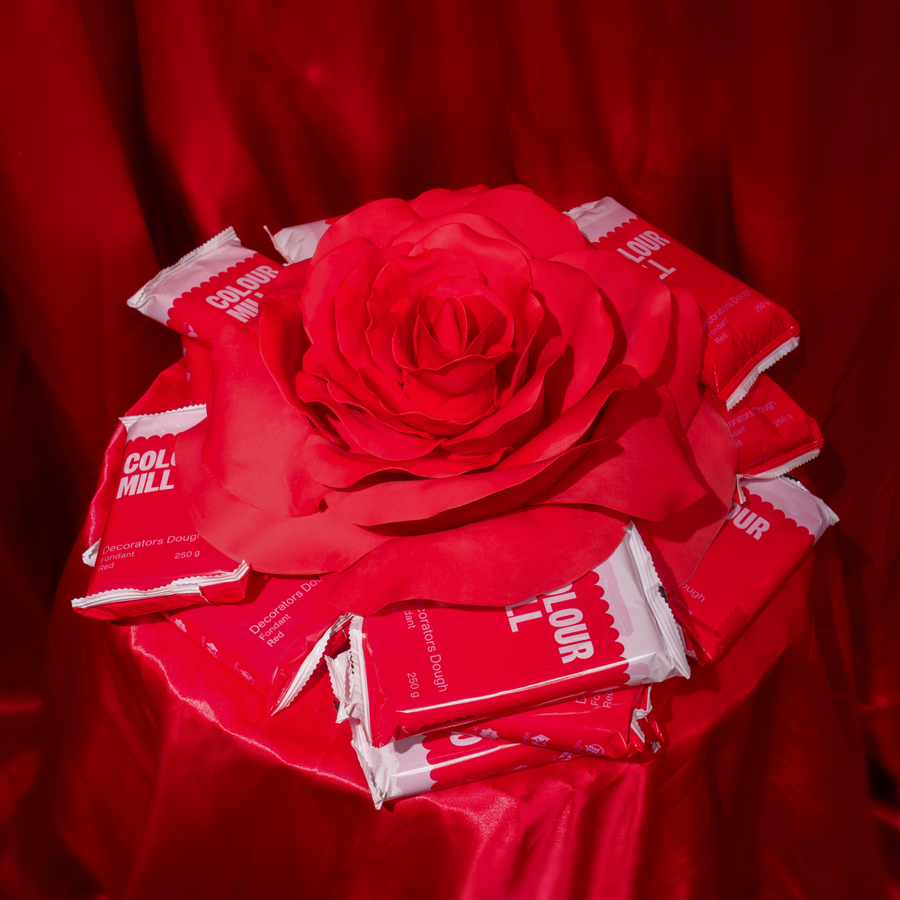
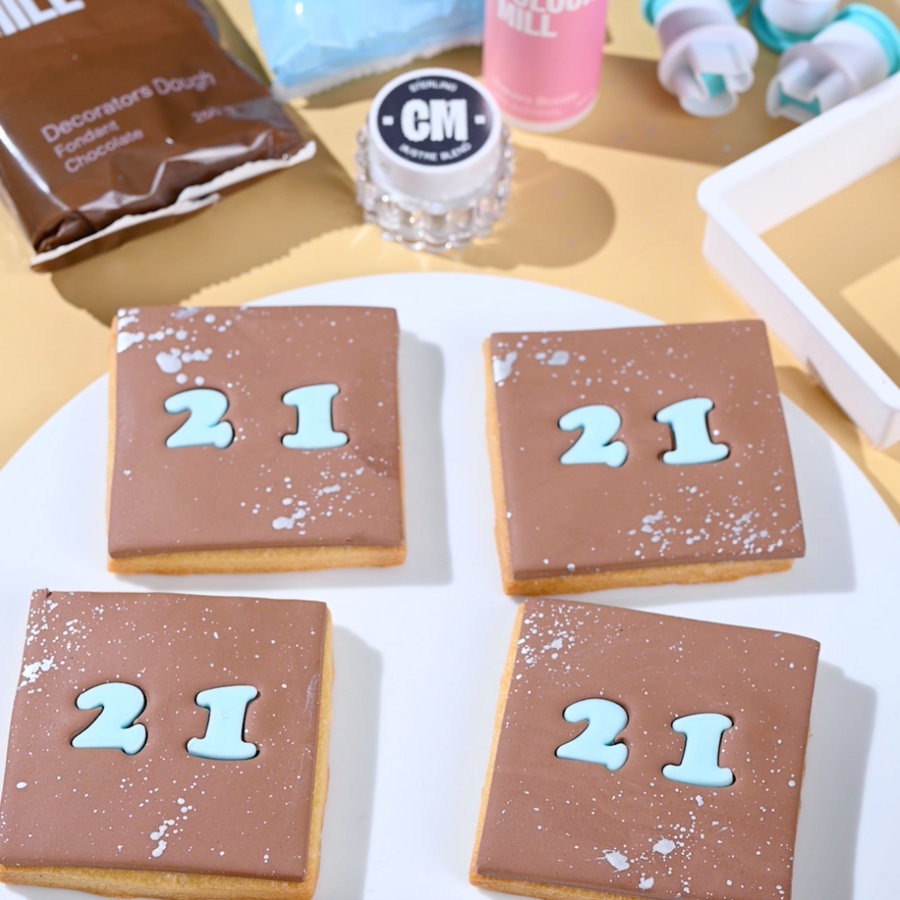
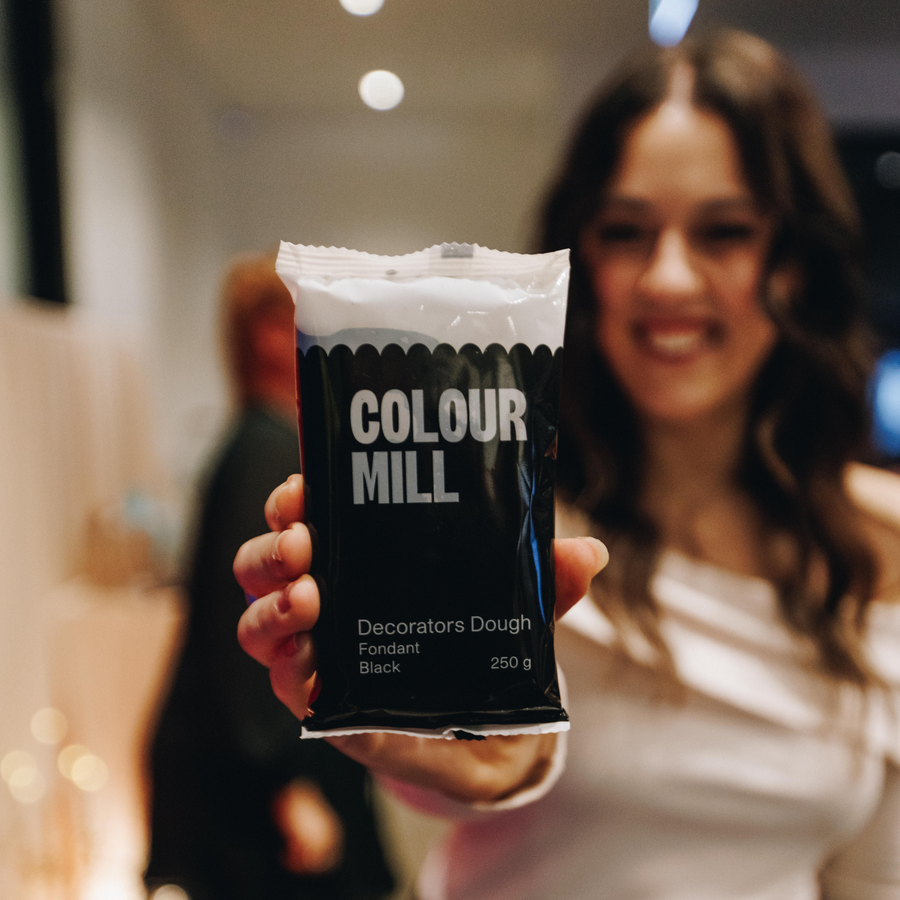
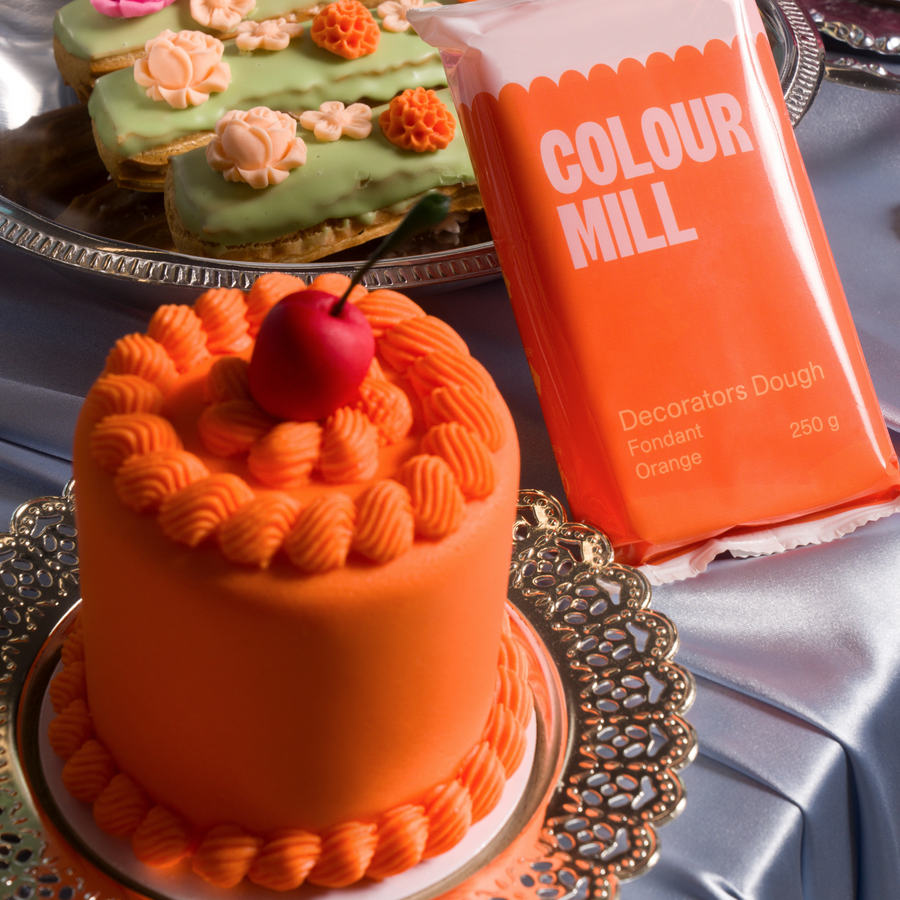
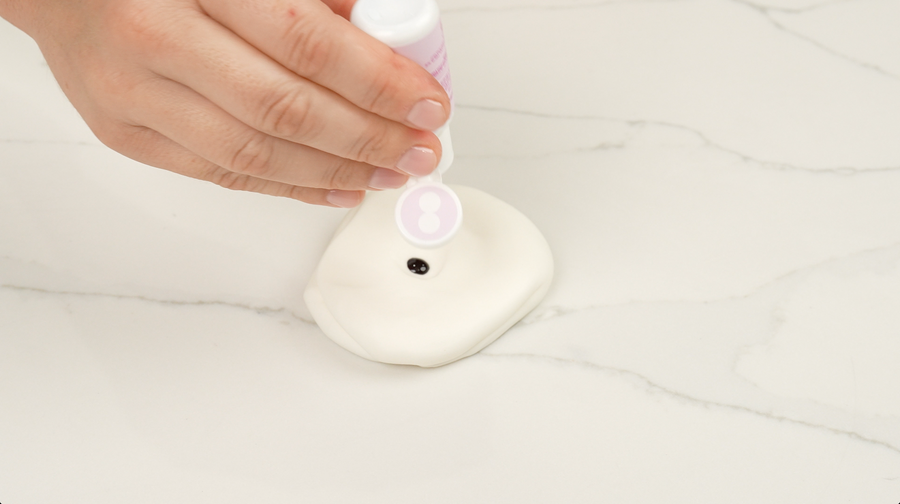
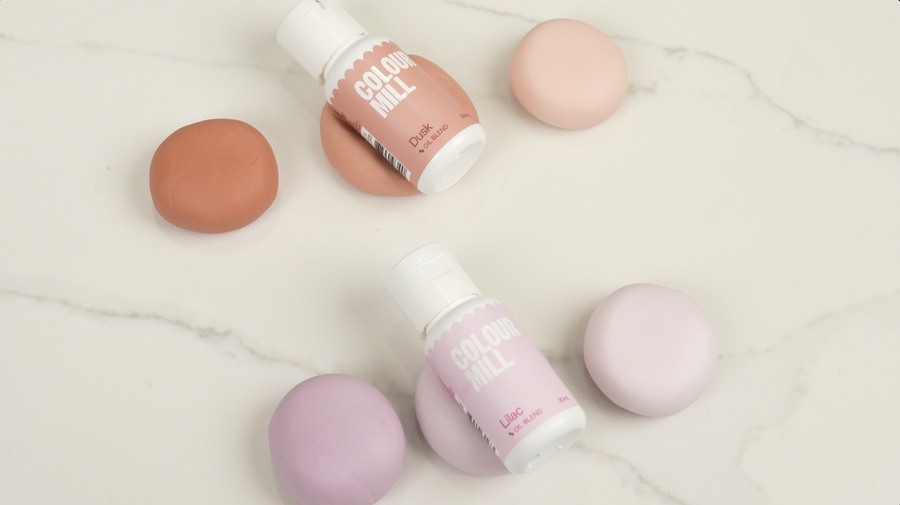
- Decorators Dough
- Bakers Bond
- Cornflour
- Rolling Pin
- Self Healing Mat
- Ruler
- Art Knife
- Paint Brush