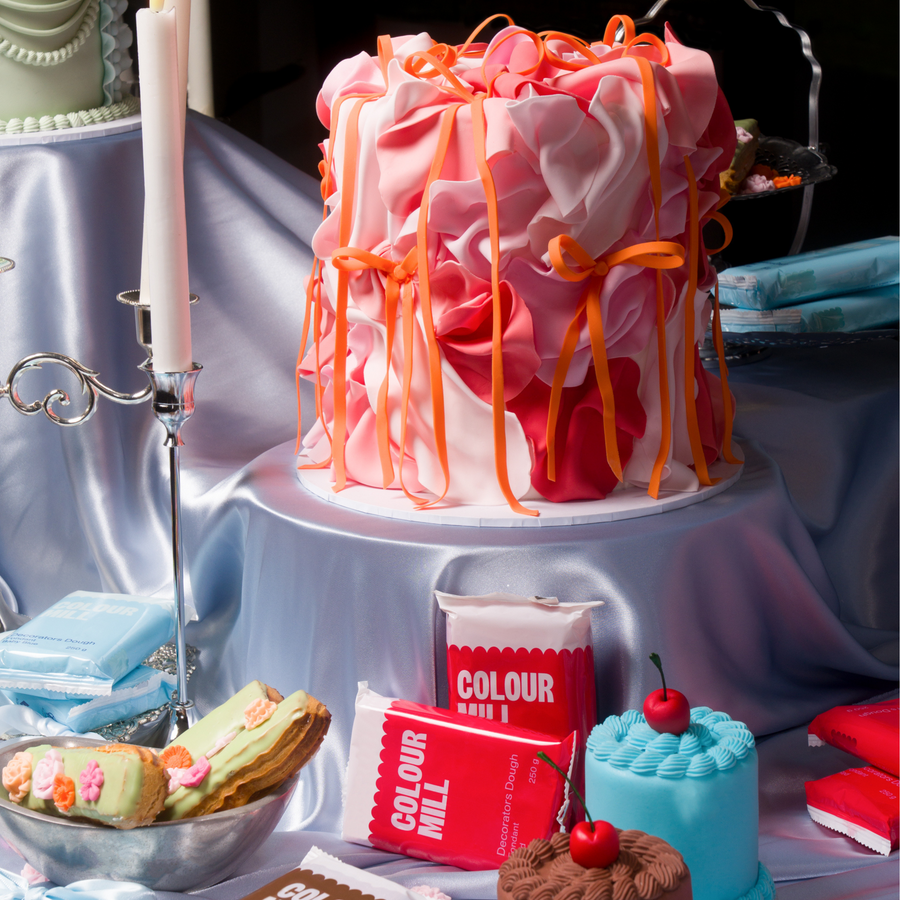
What You'll Need

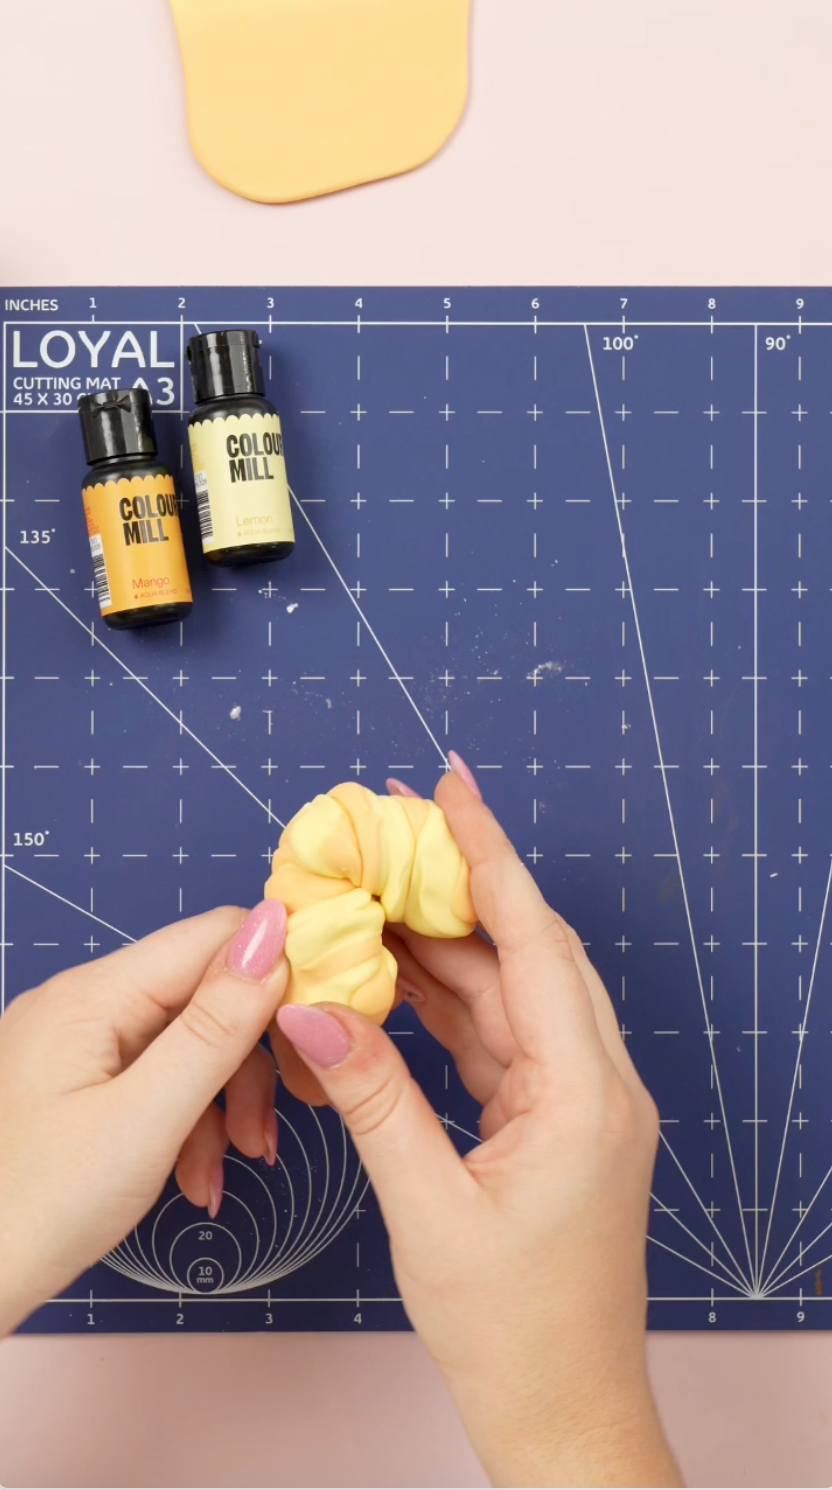
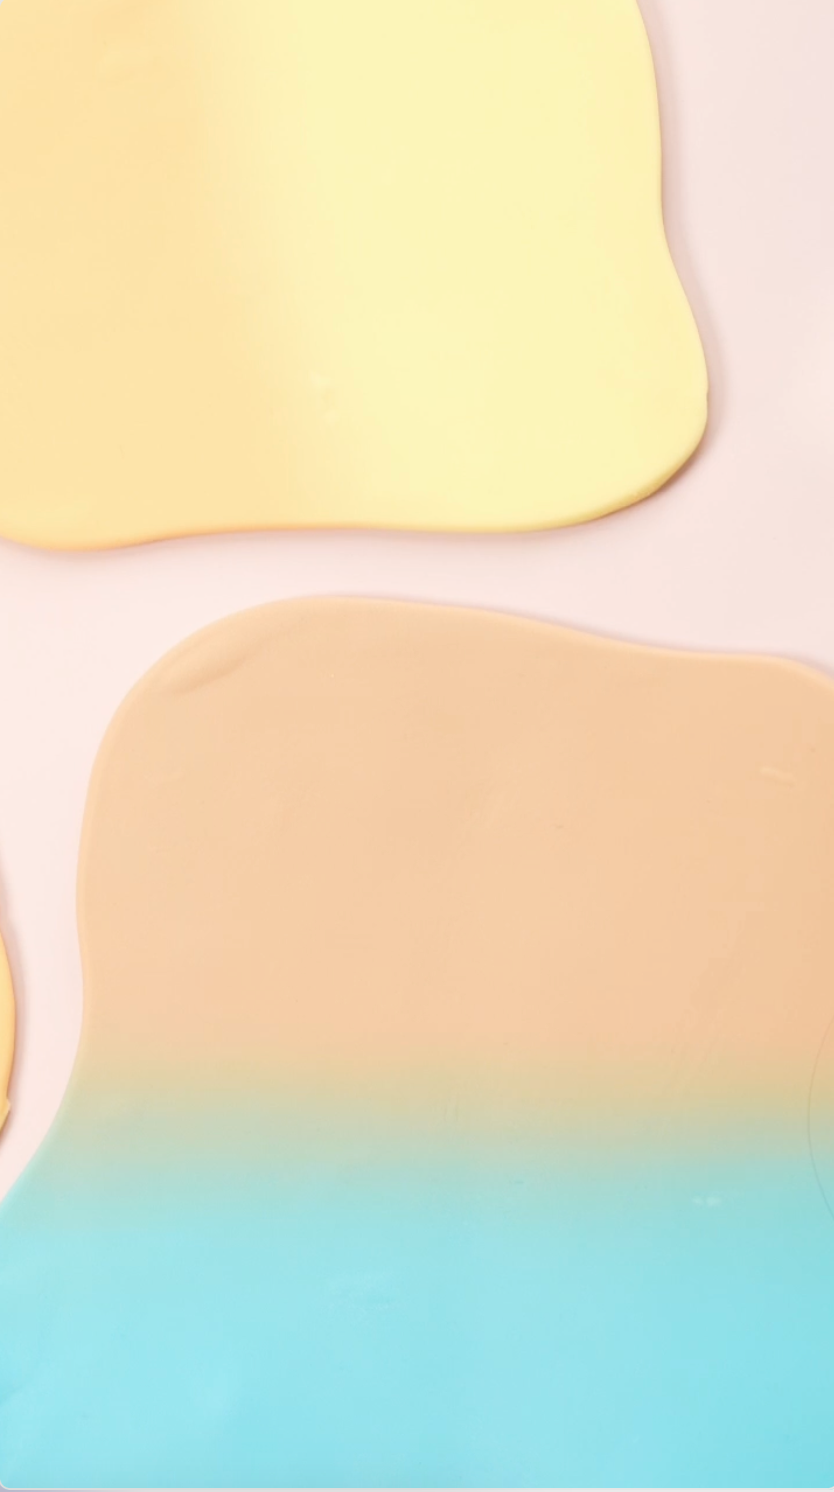
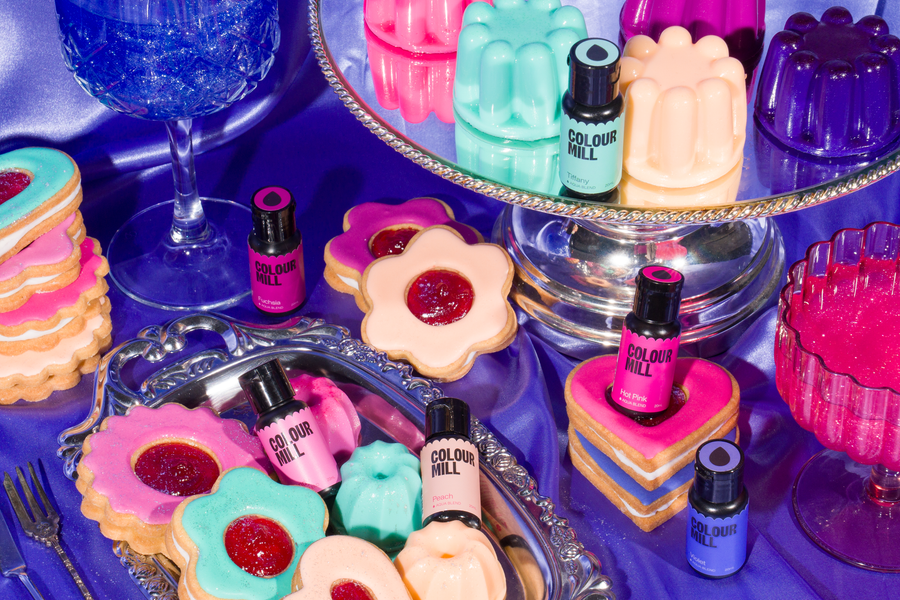
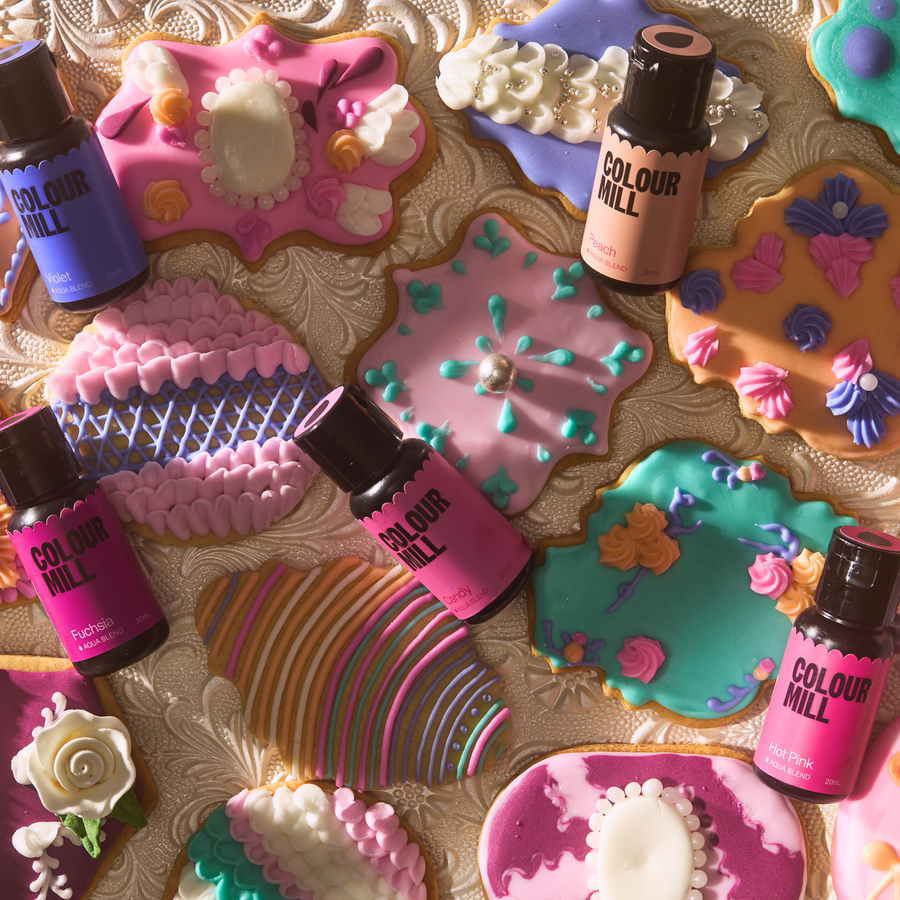
  • Aqua Blend Pastel Pack
  • Bakers Bond Edible Glue
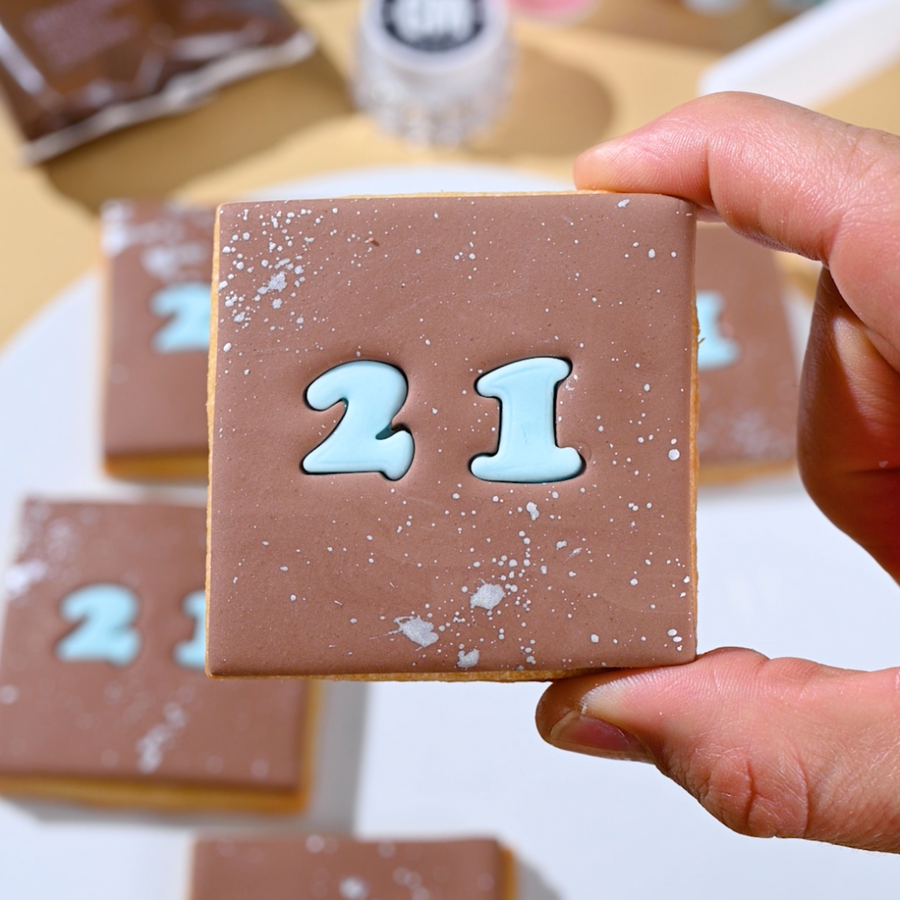
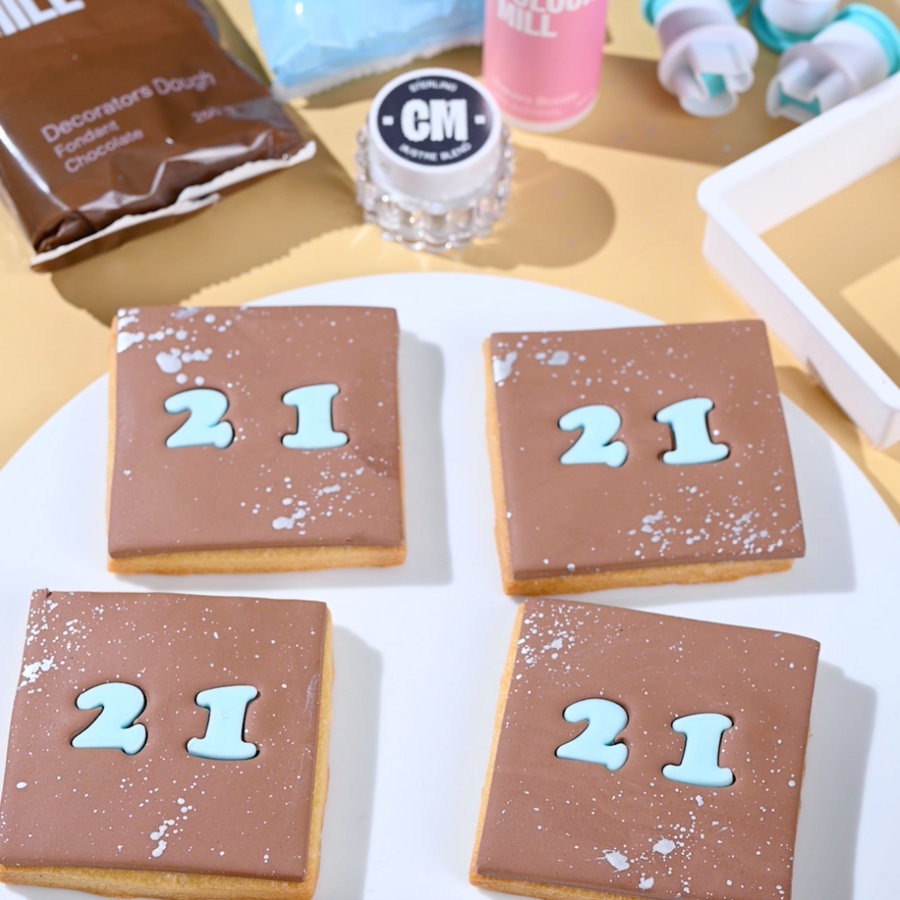
  • Baked cookies (we recommend a smooth surface like sugar cookies)
  • 1kg White Fondant
  • Arched Cookie Cutter (for this we used the Arch from the LOYAL 6pc Assorted Shape Set).
  • Assorted themed silicone moulds
  • Deboss Textured Mat
  • 'Happy Birthday' Embosser or letter stamps
  • Cornflour Duster (make your own by popping some cornflour into a chux cloth, gathering the corners together and securing with a rubber band).
Oil Blend Colouring

Pastel Pack

calculated at checkout

Bring all your pastel dessert dreams to life with this ever-so-sweet 6 pack bundle of joy.

Roll and Colour the Fondant

  • Start with your baked and fully cooled Arch-shaped sugar cookies ready to go.


  • Prep your work surface by dusting your bench generously with cornflour to stop any sticking.

  • Take a small, workable amount of white fondant and knead it until soft and pliable.

  • Decide how many pastel colours you want to use. Divide your fondant and roll into balls, one per colour.

  • To colour, press a little dimple into each fondant ball and add about two drops of Colour Mill Aqua Blend. Stretch, fold and knead until the colour is evenly mixed in.

  • Stretch and fold the fondant onto itself until the colour has evenly dispersed, kneading as you go. Put the fondant balls aside as you colour.

  • Ensure you continuously dust your work surface with cornflour to avoid fondant sticking.

  • It's time to roll and cut! Set aside the colours you want to deboss. Working with the remaining colours one at a time roll out the ball of fondant, flipping and dusting it with cornflour every few rolls to ensure a nice and smooth surface on both sides.

  • Once it's approx. 1-2mm thick, use a Arch Cookie Cutter the same size as your cookies to cut the fondant clean.

  • Use a food-safe brush to paint a thin layer of Bakers Bond onto your flower cookies and carefully place each fondant flower on top, pressing gently to secure.

Deboss your Fondant

  • Before placing your fondant onto the mat, give it a light dusting of cornflour.

  • Place your rolled-out fondant directly onto the debossing mat, making sure it’s positioned over the pattern you want to capture.

  • Use a rolling pin to press the fondant into the texture. Roll with even, gentle pressure (Don’t press too hard or you’ll distort the pattern!).

  • Starting at one edge, slowly peel the fondant away from the mat.

  • Now that the texture is in place, use your Arch-shaped cutter to cut the fondant.

Mould your Fondant

  • Collect the left over fondant after cutting your Arches and roll them back into small balls.

  • Begin but generously dusting your silicone moulds with cornflower.

  • Squish the fondant into the moulds, pressing firmly and ensuring the fondant is evenly spread throughout the entire mould. Avoid overfilling the mould by cutting any excess off the back, to create a nice and flat surface.

  • Let the fondant sit in their moulds for up to 10 minutes, before gently pulling the mould away and peeling the fondant decoration out.

Time to Decorate!

  • Start by arranging your moulded decorations on the cookies to plan out their configurations.Start by arranging your moulded decorations on the cookies to plan out their configurations.


  • While the fondant is still pliable, gently press your 'Happy Birthday' stamp into the desired position on each cookie. Press straight down and lift up to avoid smudging.


  • Once you have finalised the designs, start gluing the fondant decorations on using a small amount of Bakers Bond.


Serve and Enjoy!

Watch the Full Decorating Tutorial

Written By Colour Mill
Share